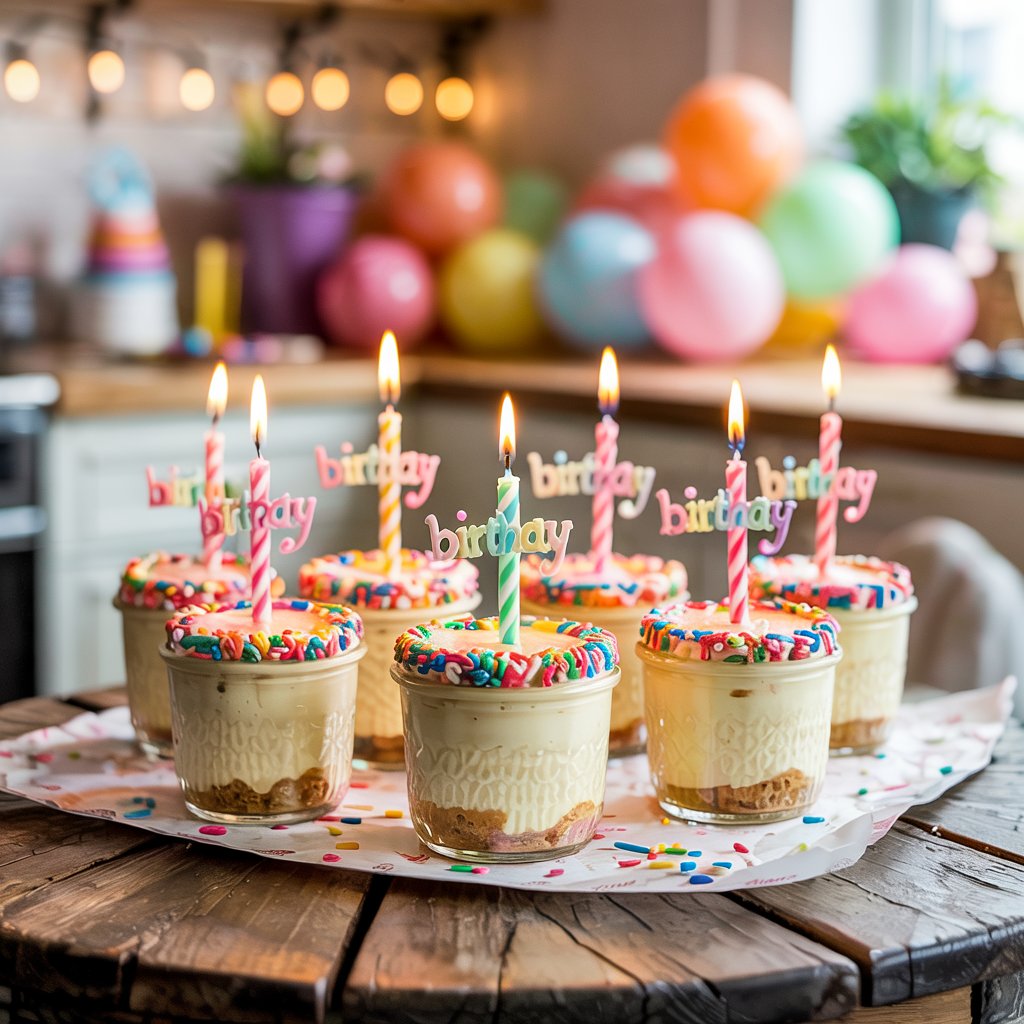
✨ Tiny Jars, Big Joy — A Dessert That Feels Like a Hug
You know those desserts that make you pause for a second, smile, and remember a moment? That’s what mini cheesecake jars recipe do. These little treats aren’t just about flavor—they’re a whole experience. Whether you’re prepping for a birthday bash, surprising someone special, or just treating yourself (because yes, you deserve it), these creamy, no-bake cheesecake jars check all the boxes: simple, adorable, delicious.
And the best part? You don’t need to turn on the oven.
Table of Contents
🧁 Why You’ll Love Mini Cheesecake Jars RECIP
🎉 Elegant, Easy, and Loved by Everyone
- These jars require no baking—less time, less cleanup.
- They’re individually portioned, making them perfect for parties or gifting.
- Kid-friendly, adult-approved, and completely customizable.
📊 Trending Hard in 2025
Right now, mini desserts are making waves on Pinterest and TikTok. From rustic weddings to birthday brunches, these mini cheesecake jars are stealing the spotlight. With search interest for “cheesecake in a jar” up over 40%, you’re not just making a dessert—you’re joining a sweet trend.
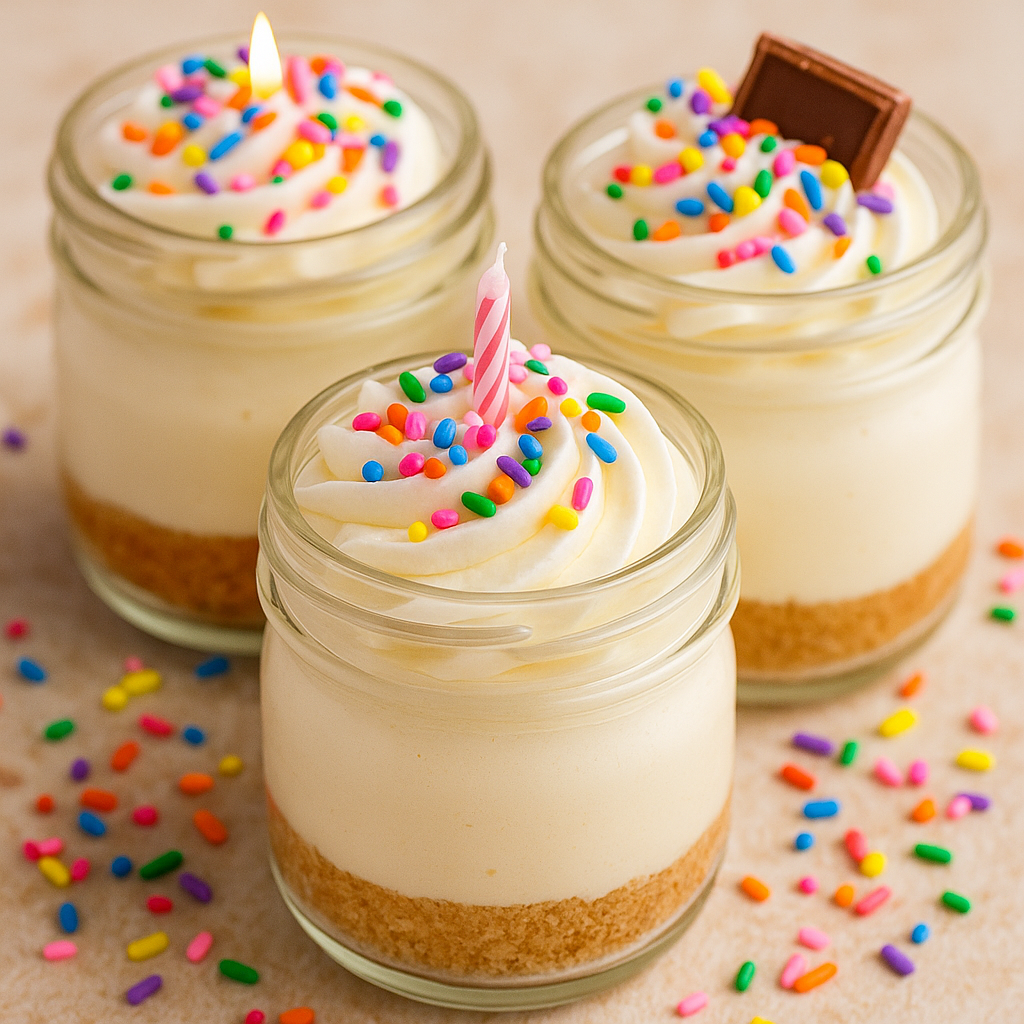
🍰 Your No-Bake Mini Cheesecake Jar Recipe
✨ Ingredients at a Glance
| Ingredient | Amount | Notes |
|---|---|---|
| Graham crackers | 1 ½ cups | Finely crushed |
| Butter (melted) | ⅓ cup | Salted or unsalted |
| Cream cheese | 1 ½ cups | Room temperature |
| Powdered sugar | ½ cup | Sifted |
| Vanilla extract | 1 tsp | Pure, not imitation |
| Heavy cream | 1 cup | Very cold |
| Whipped cream | Optional | For topping |
| Rainbow sprinkles | Optional | For flair |
🍝 Step-by-Step Assembly
- Start with the crust
- Mix your crushed graham crackers with melted butter.
- Spoon 2 tablespoons into each jar and press down to form the crust.
- Chill in the fridge while you prep the filling.
- Whip it good
- Whip the cold heavy cream until stiff peaks form. Set aside.
- Creamy base magic
- Beat cream cheese until smooth.
- Add powdered sugar and vanilla extract. Mix until creamy.
- Gently fold in the whipped cream to keep the mixture airy.
- Jar it up
- Pipe or spoon the filling over the crust layer in each jar.
- Top with whipped cream and sprinkles.
- Chill to set
- Refrigerate for at least 2 hours before serving.
- These stay perfect for up to 3 days.
😍 Insider Tips for Flawless Results
✔️ Storage Tips
- Use 4 oz or 6 oz jars with lids for freshness and portability.
- Best enjoyed within 48-72 hours.
🍒 Flavor Twists to Try
- Berry swirl: Add fresh jam between layers.
- Cookies & cream: Use crushed Oreos instead of graham crackers.
- Citrus burst: Add lemon zest to the filling.
☕ Occasions That Deserve Cheesecake Jars
- Birthday parties
- Baby showers
- Dessert tables
- Corporate events or gift boxes
❓ Frequently Asked Questions (FAQs)
Can I make this mini cheesecake jar recipe in advance?
Absolutely! These jars can be made a day or two in advance and stored in the fridge. Just add the whipped topping and decorations before serving to keep them fresh.
Are these jars freezer-friendly?
Yes—freeze them without the toppings. When ready, thaw in the fridge for a few hours.
How do I make this recipe dairy-free?
You can use plant-based cream cheese and coconut cream. Double-check that your crust ingredients are also dairy-free.
What jar sizes work best?
We recommend 4 oz to 6 oz jars. They’re easy to fill, serve, and stack in the fridge.
Is this recipe good for kids to help make?
Absolutely! Crushing crackers, spooning layers, and decorating with sprinkles make this a fun and safe kitchen activity.
📍 Final Thought: Your Spoonful of Celebration
Every once in a while, a dessert comes along that feels a little magical. These mini cheesecake jars are exactly that. They’re cute, creamy, endlessly customizable, and totally unforgettable.
Whether you’re a pro in the kitchen or a beginner just testing the waters, you can pull these off with ease. So go ahead, mix up some love, chill a few jars, and serve joy by the sp